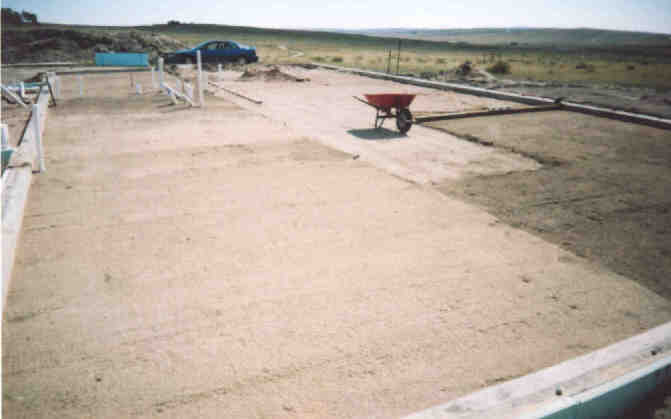
1. West of the house, looking slightly south-of-east.
Sent: Wednesday 24 October 2001
Here are some more pictures. I figure most people open up Internet Exploder or Netscape when they click on these, and then they see something enormous that they have to scroll all over the place to see. An image editor will let you zoom out but I don't think IE and Netscape do. Anyhow, I shrunk the pictures drastically. This is why you got to read this message on the same day you began to download it. (If for some reason you _want_ a full size version of one of these let me know!)
My e-mailer won't let you scroll sideways. If yours is the same way you might want to make the message window as big as you can.

1. West of the house, looking slightly south-of-east.
Originally I put enough dirt (okay, it's mostly beach sand) to bring the level up to 4 1/2 inches (about 11.25 cm)--then I drove my car back and forth over the mess to compact it, then I did the waste plumbing. You've seen those pictures already. Well, the guys who were going to do my floor told me I really ought to put more dirt in since I'd managed to pack it down so well with my car. So here I am, part way through the process of re-leveling the dirt under the house floor.
Next to the car you see a light-blue rectangle: this is the pile of insulation I will be putting under the floor.
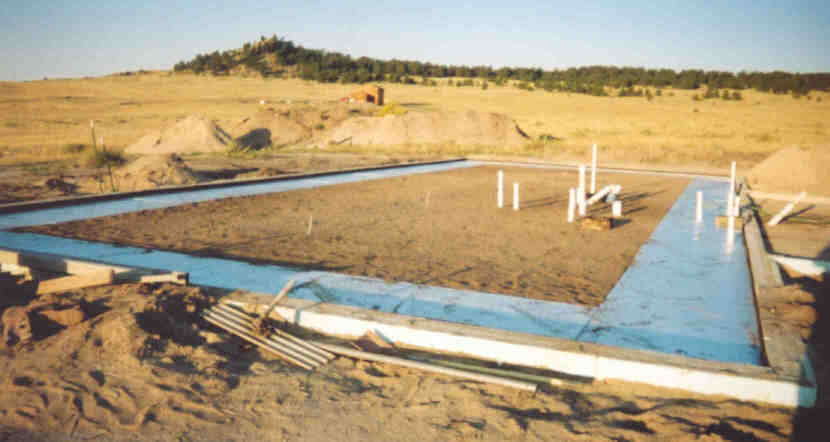
2. East of the house, looking west southwest
Now I've finished leveling. The pile of dirt at the front is what remains of the ramp I drove the wheelbarrow over to bring dirt in. The blue stuff is 1" (2.5 cm) foamboard insulation. If you look in the middle of the dirt you see not only "Sherwood Forest" but some stakes. These were put in by the concrete people so they could figure out where to level the floor at. This picture was taken less than an hour before the concrete trucks arrived. You can see some of their tools in the foreground.
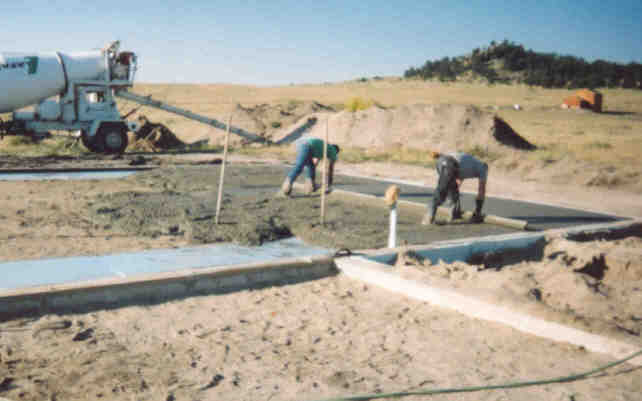
3. Inside the future garage, looking southwest.
The floorwork started at the west end of the house. It's astoundingly low tech but obviously it takes a LOT of skill to simply brush the concrete flat in such a way that it really IS flat. (You don't want your living room floor to look like a static model of the Pacific Ocean during a storm!) The white vertical line just right of center is the pipe that will drain the kitchen sink. Someday. Right now it's being used to hang one of the concrete guys' hat. (It won't be any more useful than that for a long time.)
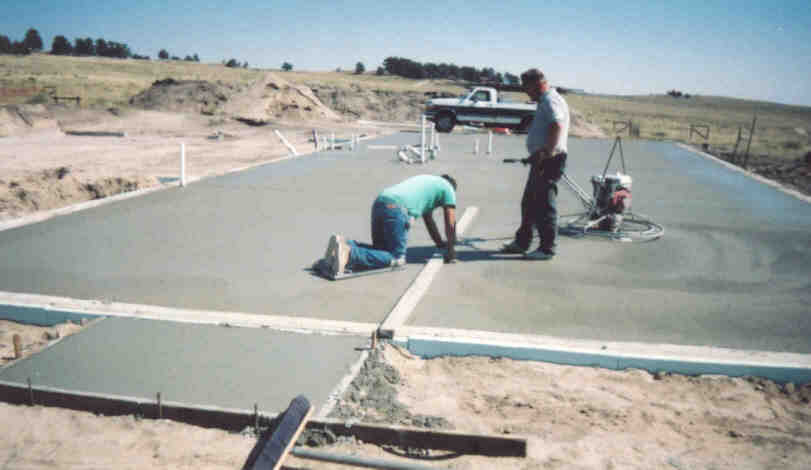
4. West of the house, looking west northwest
The floor has been poured, floated and now they are putting in expansion joints and ready to use the trowel machine. At the bottom of the picture is the porch I made for what will eventually be the west door of the house. (The last of the three concrete trucks had just a little extra concrete and I decided to use it since otherwise it would just go to waste.) It worked out pretty well given that I've never done concrete before.
The contractor was so pleased with my job of leveling the dirt under the floor he actually cut the size of the order, figuring there would need to be less margin for error. They usually add 10% to what the estimate is, in my case they only added 5%. I think they ended up wasting about as much concrete as I put in the porch. Close call!
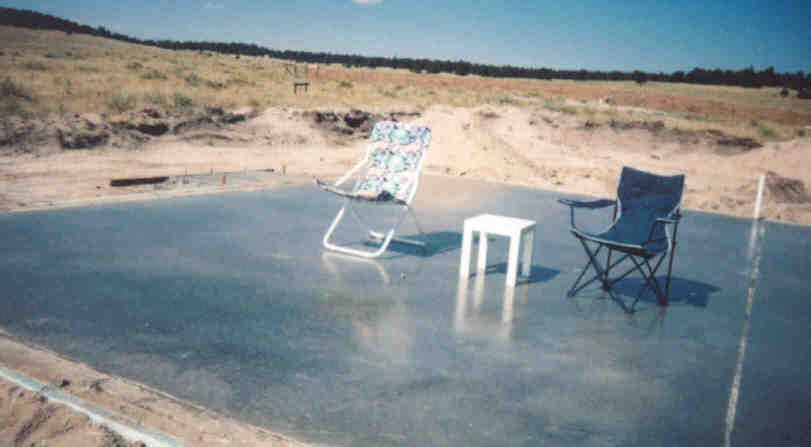
5. South of the house, looking northwest.
In response to popular acclaim (okay, it was one favorable comment) of my picture of the car in the garage (some imagination required), here is my living room (some imagination required).
Note how smooth the floor looks. That's why you pay the flatwork people the big bucks.
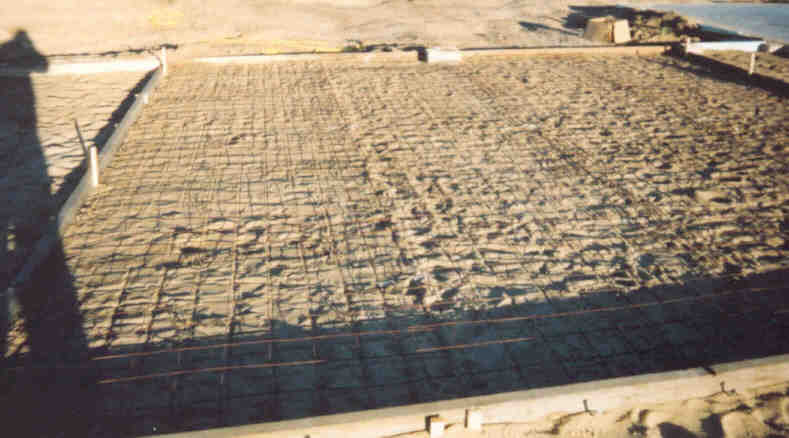
6. Just inside the west wall of the garage, looking east
Now it's time to do the garage. Here, I am not quite so fussy about the quality of the work since I don't plan to lay tile. So I was going to get together with some friends and do the work. I decided it would be really neat if the part of the garage the cars parked on sloped so that snowmelt, oil, antifreeze, and gasoline that leaks out of my truck would all flow out of the garage and kill weeds instead of flowing into the house and killing me. (I guess that makes me kind of self-centered.) I decided to pay a little extra for stronger concrete _and_ put remesh in it.
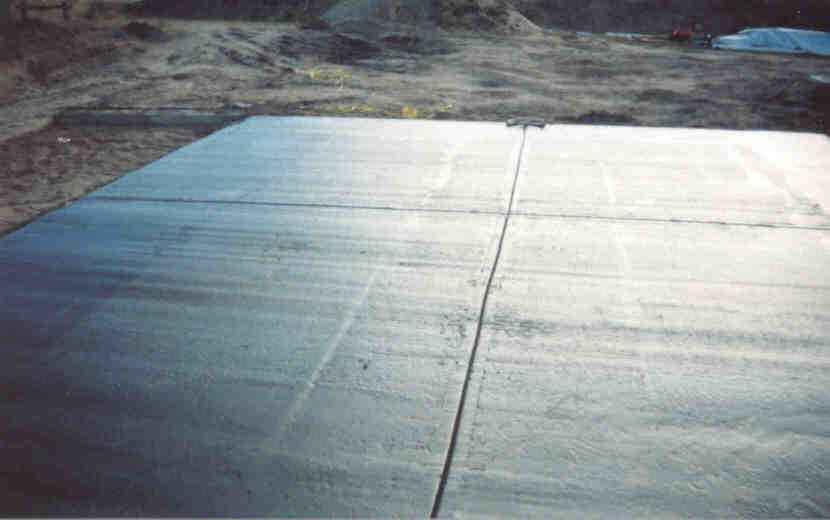
7. Almost the same place as in picture #6.
Here's the car pad, done. This was poured last Tuesday, the 16th of October. I think I took the picture a couple of days later. It looks a little rough but it's good enough for cars and the labor cost couldn't be beat.
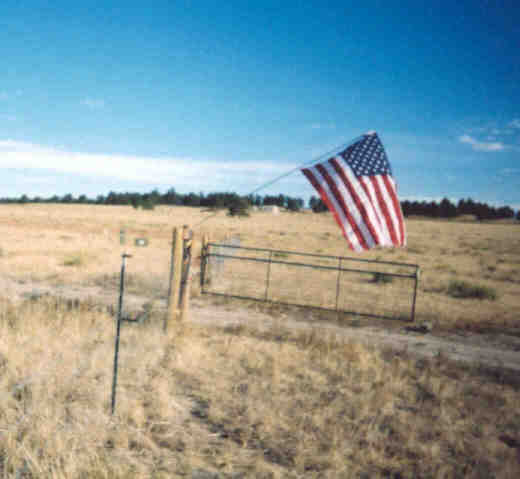
8. South of the gate to the "inner compound," looking north. This
fence is 330 ft (100m) on a side and encloses the house and 2.5 acres (1 hectare) of the
land. It keeps the cattle out, which is why there are no cattle footprints in my floor.
After the attacks on 11 September it suddenly became fashionable to fly the flag. I was caught short: I have two pieces of property and one flag, which is displayed in my living room window. And you couldn't find another large flag to save your life anywhere.
By a miracle I spotted a 4x6 (120cm x 180 cm) flag in a WalMart. (Standard size is 3 x 5.) I can't figure out why that flag didn't fly out the door about 5 seconds after it was stocked. But it's heavy duty, embroidered stars and sewed stripes (not a print). It's better than the flag I already had. So I hung it on a piece of rebar and now it flies whenever I am there working.
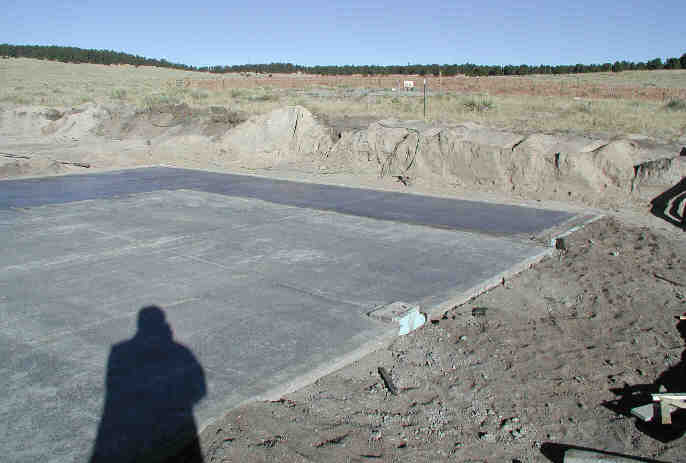
9. Just outside the southest corner of the garage, looking northwest. 24 October 2001.
This Monday the 22nd we poured the concrete that the cars _won't_ sit on. It's the darker area at the top. Then I got my cheap camera (barely better than a disposable) out and dropped it. The batteries that power the flash popped out and the door to the battery compartment won't stay shut any longer. I took a bunch of pictures but noticed that the manual film advance didn't seem to be working right.
Sure enough, I took about 8 pictures right on top of each other. So I bought a _good_ digital camera, and went out there this morning (the 24th) to take a few pictures. The picture quality is much better even though the JPG file size is about the same. (Though that may have something to do with the fact that I don't have to scan the picture in.)
-------------------------------
Now that the floor is done it is time to move on to the next big phase of the project. It's the one people think of when they talk about "building a house." The framing. I've been gathering the tools and lumber for quite some time now.
I don't kid myself that it will be easy. It sometimes seems as if I bend more nails than I successfully drive (I have a talent for finding knots in lumber). Then when it comes time to put the roof trusses on I get to do a trapeze act on a wobbly ladder (they are ALL wobbly) and I'll bet it will be windy that month.
But this has been a long time coming and now, at long last, it is time to begin.
Steve