4. Framing Frenzy
Back | Top |
Next
Sent: Wednesday, 5 Dec 2001
November, when we usually first experience cold weather here, turned out to be mercifully warm
except for Thanksgiving weekend, and I pretty much powered my way through the wall framing.
Of course I didn't know how long the good weather would hold up, so I had to work as fast as I could--
my life lately has been like this:
Is it light out? I'm either working at my job (four ten hour days) or working
on the house. Period.
Is it dark out? I'm probably vegged out or sleeping.
Of course I fulfill my obligations with the local Libertarian party a couple of times a month.
(Good thing they don't meet Saturday afternoon!)
First off, none of this will make sense without a diagram:

1. what you see here are all the walls that bear loads and/or are outside walls.
The angled lines mark people-doors and the boxes are windows (or the garage doors).
The west wall of the house meets a cathedral or pitched ceiling.
The powers that be typically want that "balloon framed", which is to say they want the
wall framing to go up to the ceiling, which is peaked in the middle. So that
wall will be done _after_ the roof is on!
So where to start? Since I have never done this before I'd just as soon start with a really _easy_
wall like the west wall of the garage--a full 32 feet long, no need to subtract out
5 1/2 inches for the adjacent wall at the corner. And let's see, to keep it from falling over
I'll do the west part of the north wall of the house. That's just got one window in it.
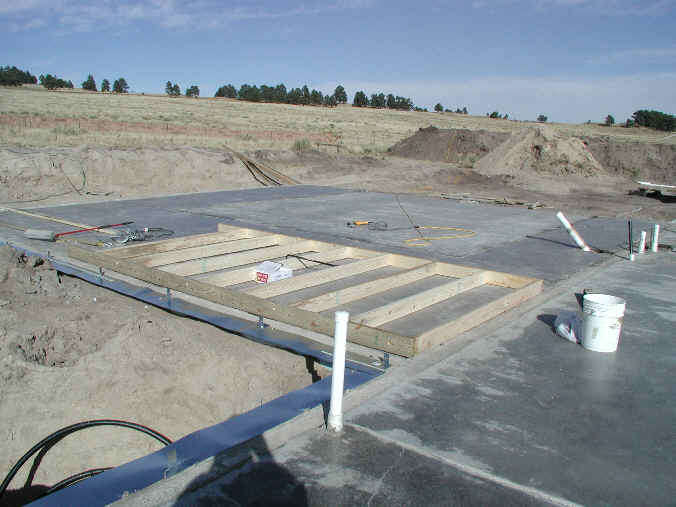
2. Sunday 27 October: Well that part of the wall was really easy to nail together. Took me 36 minutes.
Of course it's time to do the other half of this wall and two sections of the north wall of the house.
Framing is definitely a "but before" task. Before you can frame you have
to put down the termite flashing; before you can do that, you need to put up those little
metal plates that hold your house to the foundation. Handy when the wind picks up.
That's what I spent the previous day and a half doing. (That and moving the lumber!)
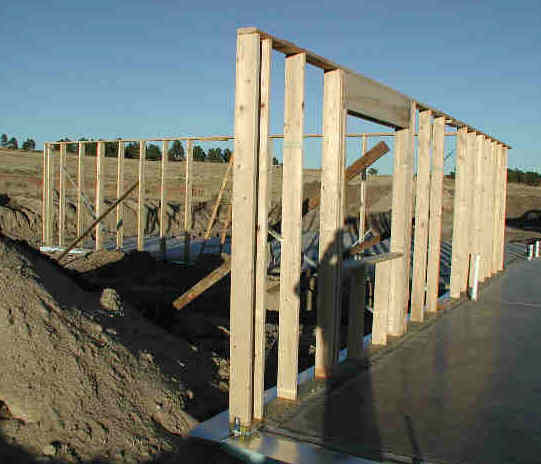
3. I finished the four sections on Friday the 2nd of November, and got help from a co-worker
and tipped them up. Yippee! Something finally stands UP on my property. No more of this below-ground stuff!
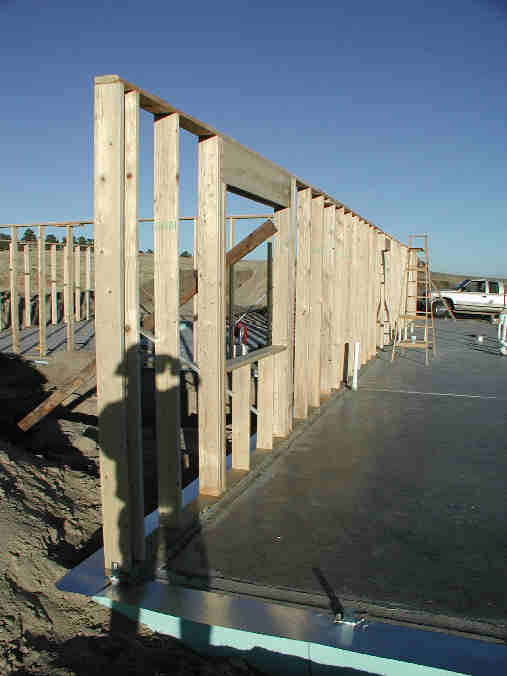
4. Next on the list was the rest of the north wall of the house, and the north wall of
the garage. Here's the north wall from pretty much the same spot as the previous picture. Way in the
background is the west wall of the garage (old news) and the north wall of the garage.
(Sunday 4 November) Interestingly enough a bunch of people came over to see the construction
that day--they were visiting the friend who helped me with these four sections of wall.
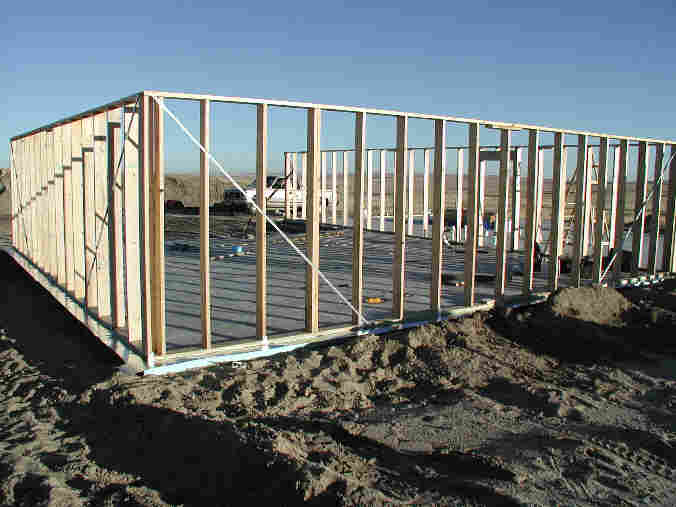
5. A picture (taken 35 seconds later) showing the north wall of the garage (left)
and another perspective on the west garage and north house walls.
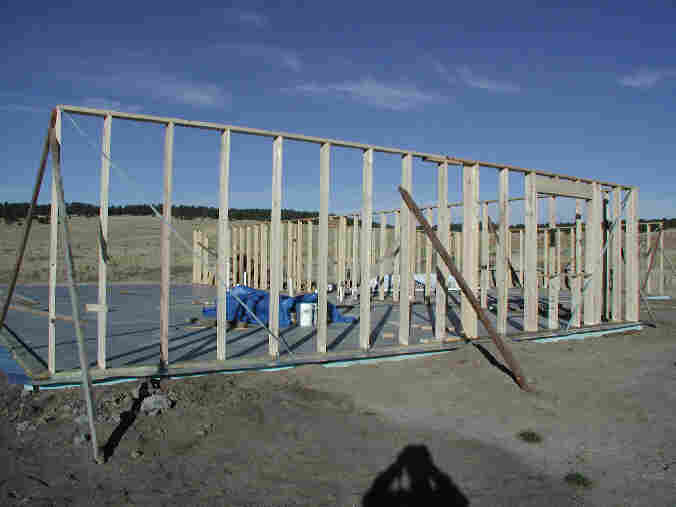
6. Morning on Sunday 11 November. The east wall of the house is up (I, and yet a third friend, tipped it
up late the previous day); time to work on the east wall of the garage, which was going to be really
challenging. The second window I did is visible on the right. You would think a window would be light
(since it's a big hole in the wall) but every window has four studs on each side and some big boards
up above--so a section with a window in it is not only heavier but it is top-heavy.
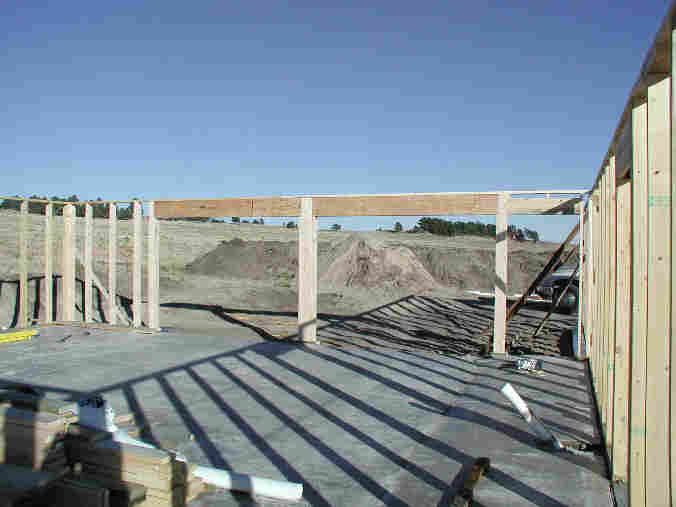
7. Saturday 17 November--It took me the whole of that sunday and the following Friday
to buy the special microlams for the garage _and_ build the thing. I couldn't break it into 16 foot
sections this time. So we had one VERY long section with some very heavy holes in it. To make life
even more interesting, when we tipped it up (it took three of us), the house wall on the right was
leaning into the garage slightly--so as we lifted the wall up, we were also pushing the house wall
out of the way. Ooof!
What's left--the entire south wall of the house, with six windows and a door! But the truly ominous
event was coming up on Tuesday. (Insert evil-sounding music here.)

8. You have to be looking at a truck piled high with gigantic trusses to truly
appreciate what I was thinking as they were dropped in front of my house:
"What in the hell have I gotten myself into?!?!"
(And oh, by the way, half of the south wall is up, the third section is ready to tip up,
and the last piece is almost ready over on the far right. I got the two first pieces up the same
day as the garage doorways; the rest I managed to do on Sunday the 18th).
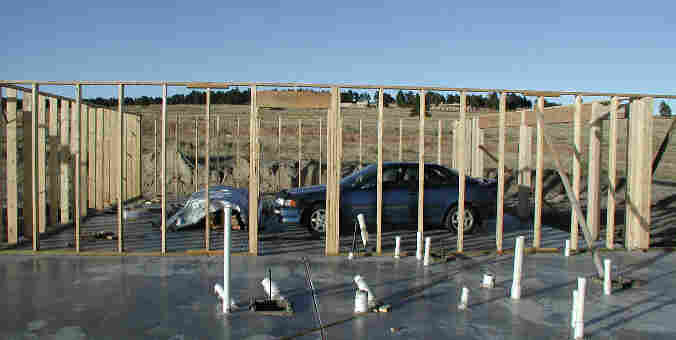
9. And by popular demand (okay, one person liked it), another imaginary shot.
Imagine that the garage is NOT really, really drafty with a roof that is 100% open air
skylight. You won't have to imagine the clutter that every garage seems to collect.
(I have to stack the lumber _somewhere_!) (Also 20 November; I took off from work to get the trusses
delivered.)

10. My luck with the weather finally ran out. Thursday the 22nd was Thanksgiving. I was able to finish
the last section, but couldn't tip it up.
Friday I just barely managed to bring in a fresh load of lumber and stick it under the blue
tarp you see on the right, a really nasty storm was moving in.
Saturday I had to remove as much snow as I could from the house (you are supposed to
shovel snow OUTSIDE of a house but somehow the rules are different here); I was able
to reorganize the mess of trusses with help from one of my friends. (The very first truss we need is at
the top of the stack you can see.) We also put a lot of "top plates" on. These are boards that
go on top of the walls and make the whole thing much more rigid (you can see part of one at the upper
right of this picture). There was still too much snow and ice on the sections lying on the floor
to try tipping them up.
Sunday the 25th the last two sections went up... and you see them here. The far left portion was 20'
long and very heavy--it took three people also but wasn't as bad as the garage. So the walls are now
up (except the one that doesn't get built till last). Towards the end of the day another storm moved in.

11. One more thing I did on the 25th-- the tall boards on the east wall shown here are so
that when we flip the first truss up, it doesn't keep going and land outside the house. D'oh!
Looking back, it seems like it took forever, but I started on October 27 and finished on November 25--less
than 4 weeks.
Trusses started going up the next weekend (Saturday the 1st) after another day of snow and a
Friday spent reorganizing everything and putting plates on all the remaining walls--none of the
junk you see here is still on the floor of the house. But I'll save those pictures for the next e-mail.
Steve
Back | Top |
Next


